A while ago, I flipped through the book, The Noma Guide to Fermentation, and I came across the first recipe in the book,

I went to the market and looked for sweet, firm plums. I bought a kilo of sweet plums. You have to pay attention not to buy plums from the beginning of the season, which are still sour and are less suitable for fermenting. Plums are in season from May until end of October; ripe plums will be slightly soft at the stem and tip. Do not purchase very hard plums as they will be difficult to ripen and they will not increase in sweetness that is needed for the fermentation process.

In this recipe, I used their recommendation and fermented the plums in a vacuum sealed bag. Lacto-fermentation needs oxygen-free conditions, and a vacuum sealed bag is a slightly different way to create a system without oxygen. We are used to the classic methods of fermentation without oxygen by adding the brine, similar to the method we know for sauerkraut.

After the fermentation process of the lacto Fermented Plums is complete, should take 5-7 days, you should get a savory-sweet condiment. There are several products that can be made from these plums.
The first thing you can do is drying the lacto Fermented Plums flesh. By drying the plum flesh you increase their sourness, and you can get a product with a gentle sharpness and umami to give any dish a lift.

You can also dry the skin of the plum and grind it with your fingers. You get little sour plum flakes that can be used for many things. I used the flakes on ice cream and the result was a really surprising, fruity acidity flakes.
Ingredients
- 1 kg plums
- 20 g salt
Instructions
- Wash the plums with water and remove any surface debris. Do not over-rub the plums not to remove too much of the surface bacteria.
- Cut the plums in half and remove the pits.
- Weight the halved plums and add 2% salt. For instance, for 1kg of plums, you should add 20g of salt.
- Toss the plums to cover evenly with salt.
- Place the plums inside a vacuum-seal bag, and vacuum seal the bag.
- Let the plums ferment for 5-7 days, depending on the temperature.
- After a few days, the bag will swell-up. “Burp” the bag by cutting a little hole in the corner to releasing the gas. At this stage, you can start tasting the plums. When done releasing the gas and tasting you should reseal the bag.
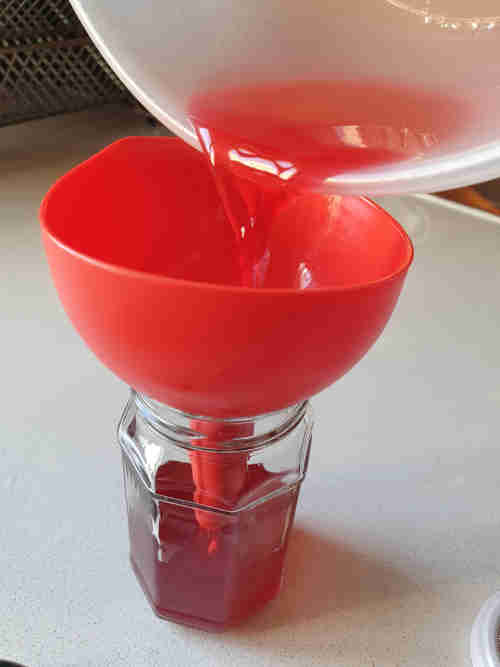
- Once the plums are ready to use, cut the bag open and strain the liquid into boul. I would recommend keeping the liquid for various uses.
The dehydrating stage
Drying the fermented plums gives them a nice chewier texture with enhances savoriness. The dried fermented plums are great in salads and desserts.
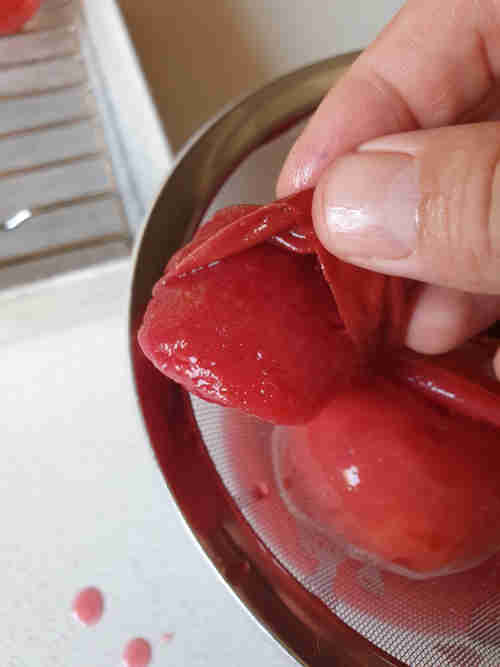
- Peel off the skins of the plums and set aside.
- Place the flesh of
the plums on a dehydrator tray and insert into a dehydrator set to 40c. - If you do not have a dehydrator, you can use an oven to dry them. Set the oven on the lowest setting possible – usually around 60C.
- Dry until the plums are it looks like dried apricots.
The same process can be done with the plum skins. They should be dehydrated until they are crisp. As I mentioned before, after drying the skin of the plums, you can grind them with your fingers. I used the flakes on ice cream and the result was a really surprising, fruity acidity flakes.
This site is a participant in the Amazon Services LLC Associates Program and contains affiliate links to products. We may receive a commission for purchases made through these links.